Part 1: Understanding Photographic Exposure Reciprocity

Understanding shadow and highlight detail requires us to ask the simple question of what constitutes detail. Look at one of your photos for dark and light areas where you can gather any texture or color or form information. Obviously it is likely that in a properly exposed image there are some totally dark and totally white areas where such information is not available. In other words it is outside the latitude of the media to capture such detail although such detail existed in the real scene and was probably easily discernible to the human eye. Detail should be available in the areas of the image in between these two end zones. It is easy to understand the idea using a simple object such as a apple. In the highlight and shadow areas no information is available. Color begins to appear at the highlight / lit area border and it begins to disappear at the shadow / lit area border. In between the lit area represents the full fidelity color. The skin of apple is smooth. If it was textured, like that of an orange, the borders between highlight / lit and shadow / lit areas would be places to look for texture.
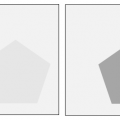
The zone-system of photography which was much popular among black and white landscape photographers shows a scale than can be represented in photographic paper from a nicely exposed negative.

I showed 5 zones on the apple as the simplest case. The zone system scale is an expansion of that scale. It displays a graduation from total black (where no detail would be visible) to total white (where no detail would be visible) in 11 steps with 9 steps in between. These steps would show detail to various extent. In an actual image the steps are many more as tonal graduations are smoother. Nevertheless, convert a properly exposed image to black and while and check for Zone 0 and Zone X. See if you can identify some of the other zones by matching the grays to the steps in this scale.
Two adjacent steps in the zone system scale are separated by 1 stop. Suppose that the image you are looking at was taken at f 5.6/125. The Zone V in this image would have similar detail to Zone VI if it was shot at 1 stop higher i.e. at f 4/125 or reciprocally at f 5 .6/60. For a more hands-on understanding on this, I recommended taking the same shot in multiple exposure settings at 1 stop intervals and analyzing the highlight and shadow areas for detail. Select 2 images from the series which are separated by 1 stop and try to draw a zone map on the images. This is key to understanding how exposure meters work.


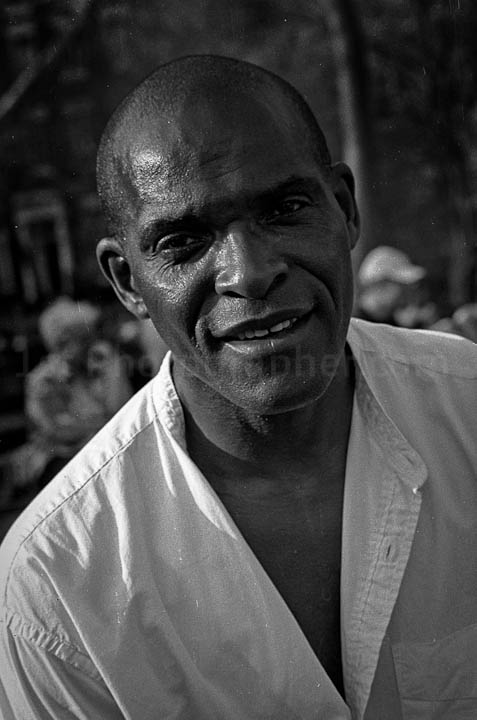
As an example I have identified the zones in a properly exposed image in above gallery. In the other two images you can try to put the numbers in the same places comparing with the zone scale. How do the numbers compare to the original image?
The normal shot requires detail in highlight and shadow and a range of tones in the in between. When a picture is slightly overexposed, it gets better shadow detail and lighter mid-tones at the loss of some highlight detail. Conversely a slightly underexposed shot gets better highlight detail and darker mid-tones at the loss of shadow details. Try to compare the level of detail available in the same region of the 3 images above.
At the extreme ends there are high key and low key shots where highlight detail and shadow detail is intentionally sacrificed for a specific creative expression the photographer is looking for.
In the digital age with nifty editing tools, people often do not dwell on the concepts of shadow and highlight detail in a deeper way like they needed to in the film days, where if you didn’t get your exposure right, there was no such thing as editing RAW to save you the shot. However it is fundamental to develop these concepts if you want to achieve a professional look in your edited digital images. You can argue that there are a bunch of editing plug-ins than can create a specific “look” at the click of a button. So why bother about this? The answer is – only if you care to know what happens or how it happens as you are applying that specific look. The aspiring serious photographer would choose a plug-in as a productivity tool and only after learning to work out the editing process manually. This produces a much more solid foundation that is beneficial not only in editing but also in shooting.