Part 4: Understanding Lighting Direction
Lighting direction is about the position of light source in relation to the subject. The scene and the photograph completely changes as the lighting direction changes i.e. the source of light is moved around the subject. We cannot move the source of natural light but we can move ourselves, effectively changing lighting direction and observe what happens. Direction of light i.e. position of the light source with respect to the viewpoint influences depth and drama in a photograph.Our world is three dimensional and our job is to create a sense of that third dimension in a two dimensional photograph.The impact of lighting direction depends on lighting contrast. With low contrast light, the position of the light source is much less definite and so the impact is less. On an overcast day, when lighting contrast is low, you may not know if the sun is to your left or right.
In natural light, these positions are top, side, front and back. In the studio, one can have bottom light as well.
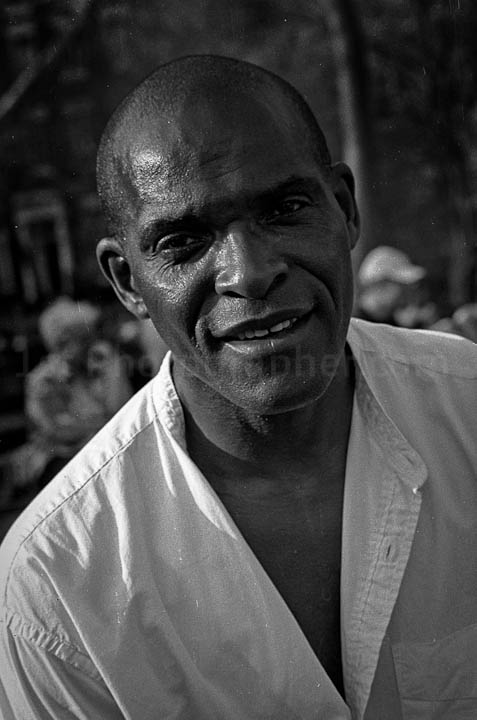
Countless snapshots are taken where the subject is positioned to face the sun. This is frontal lighting. It has its use but often it is not the best choice. In natural light, especially for black and white photographs, it creates very uninspiring results because the interplay of light and shade which creates depth is absent. It creates good color information but hardly any texture or form.
For most situations, try to use soft side lighting for best results. That is, use a medium size light source. If you cannot move the subject, such as if you are photographing a tree or a building, move yourself to change the lighting direction from frontal to side.
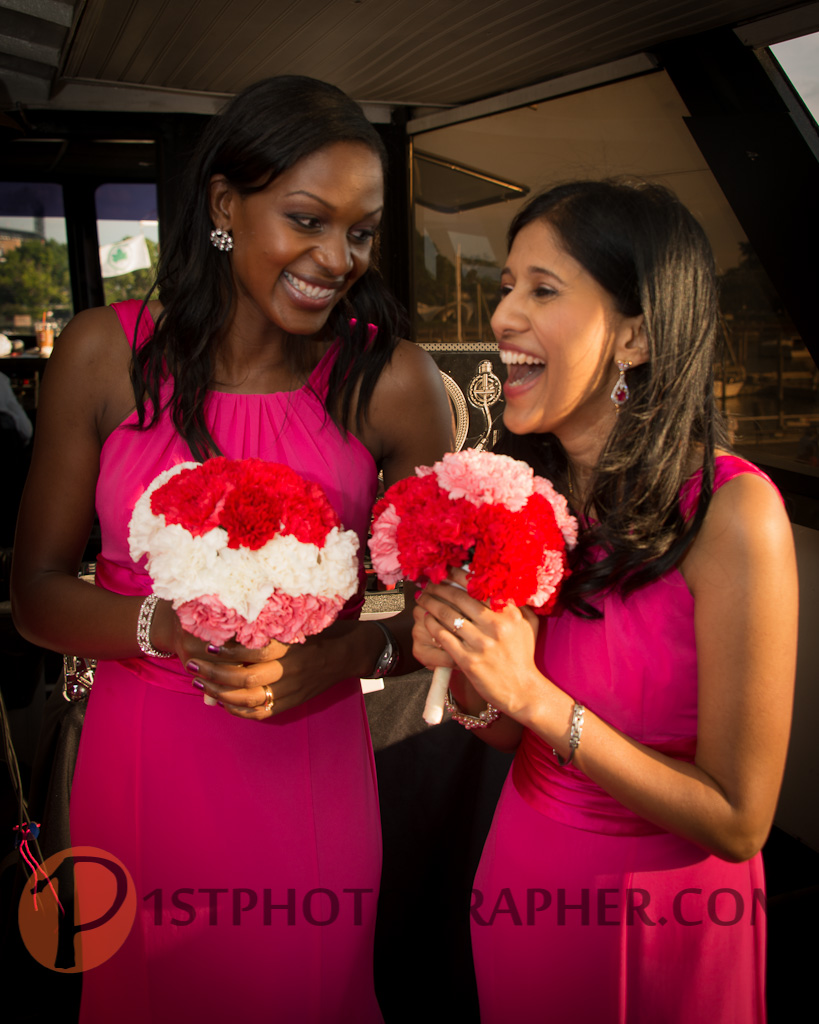
Back lighting is bit more specialized. Light coming from behind the subject creates a halo which is most visible against a dark background. The light that creates a halo can create flare and ruin the image – unless flare is part of the affect you are looking for. Textures and form melt away, and this can create a glamorous feel in a portrait. Also, you need reflected light to fill in shadows, unless you are looking for a silhouette.
Looking at these images taken on the same day of the same person, you see the difference between side lighting and back lighting. The first image was taken with natural light. This would be a large source light outside as the sky was overcast, however the same light coming through the window produced the directional aspect and created the medium source light. The first image was photographed in what is called Rembrandt light. One side of the face was directly lit and the other side had a lit triangular area on the cheek. The darker side had adequate fill so that the hairline was separated from the background. Also she had turned her head just so to catch the light in both her eyes. Side light picked up her skin texture and modeling of her face. The image appears three dimensional and pops out of the background. In the second shot, her face was not lit by natural light which was behind her. The tungsten room light and light reflected from the polished wooded tables lit her face. Hence the deep warm cast. Her face is glowing but you don’t see any texture on her skin, which appears smooth – like a model’s skin appears on a magazine. There was just enough halo to one side to create some modeling.
If you want to get a better feel for this, take a project and start photographing the same object with different positions of the light source. Then vary the light source by using small, medium and large lighting sizes.


