Contre Jour is French for “against daylight”. We are always wowed by the flattering into the sun shot of a beautiful model. Indeed contre jour shots can be exciting opportunities to create high impact images. It can be somewhat challenging though. So here are my tips for photographing in contre jour light.
Rim light
The main reason that we love contre jour shots is because of the halo or the rim light that forms around the subject. This type of light is easily available late afternoon or early morning. To make the shot more dramatic, try to capture this rim light against a dark background. With a little bit of reflected light as fill, the picture becomes complete.
Exposure
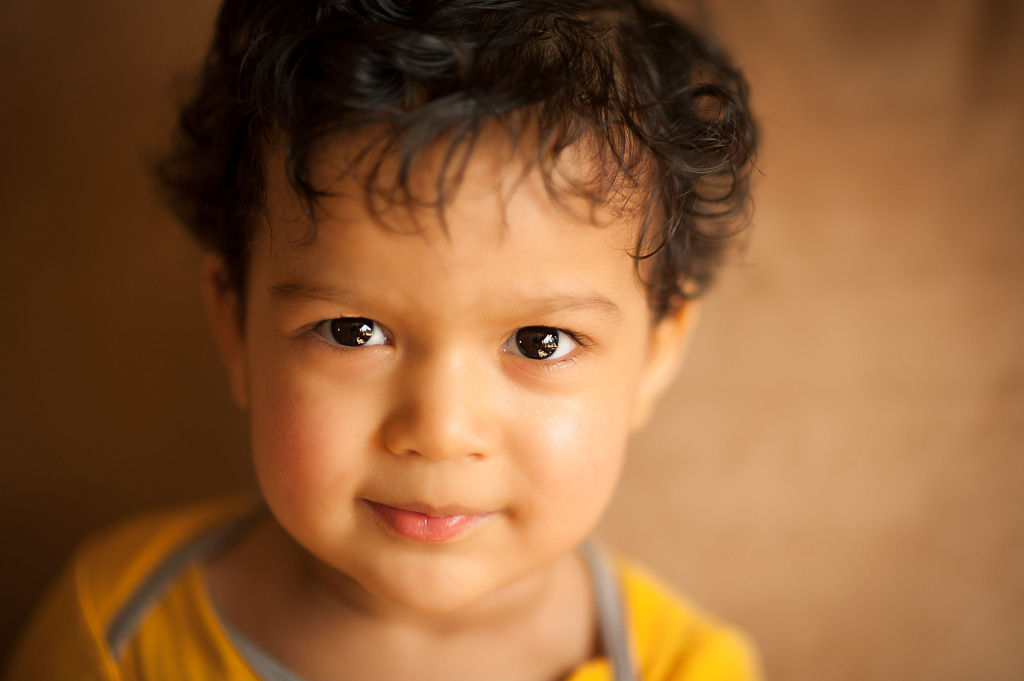
Be careful about using auto exposure. I rarely use auto exposure in contre jour situations. Also, in contre jour light I use spot metering. As an example, I would spot meter the shaded part of the little boy’s face. If I used auto exposure, I would have to use auto-exposure lock to ensure the exposure at the time I clicked the shutter did not change from that I metered, which would most likely happen as I would re-compose the shot after metering.
Lens flare
Lens flare cannot be avoided if the light is directly against the lens but shooting at an angle to the light source can eliminate flare while still capturing the drama. Alternatively use an object in the frame to block any direct light. Using a lens hood is a must and a lens has its matched hood. A wrong lens hood will either produce vignette or fail to cut down flare. It is very difficult to avoid flare if you are taking the light head on even with the lens hood and in spite of the superior flare reducing coatings on modern lenses. Wide angle lenses are especially prone to lens flare owing to their wider view and also due to the fact that sometimes you cannot use a hood due to vignetting, so if you are using one, pay special attention to the viewfinder to make sure flare spots are not there. Flare spots are quite difficult to remove digitally and almost impossible to hide in conventional printing. I got a flare spot just to the right of the walking couple’s heads
Fill light
Some fill light from the front is sometimes necessary to maintain detail and balance in the picture. Reflected light or a fill flash may be necessary in such cases. In modeling shoots assistant(s) hold up large reflectors to fill in shadows. Under natural settings you can get reflected light off the ground (kid on the bike), off a wall across from the subject etc.
Eye cup
Light straying into the eyepiece as you are looking through the viewfinder makes the task of detecting of lens flare even harder. An eye cup is just the thing to reduce this stray light, especially if you are wearing glasses.
Whether you are shooting a dramatic silhouette of a power station against a spectacular sunset or the up close shot of an old woman knitting in the park, the idea is to have fun while doing this. You never know following the tips for photographing in contre jour light, you could get your next masterpiece sooner than you think.


